The Good. Clean. Fun.™ BLOG
< All Posts
Source: IvaFoto/Shutterstock.com
Why wait until summer to rock a killer updo — especially considering balletcore buns are shaping up to be one of the hottest trending styles of 2023? As seen everywhere, from the Red Carpet to social media, it’s a chic bun that’s simple to achieve but looks anything but lazy. Any hair type can achieve this clean and classic look as long as you have enough strands to pull into a ponytail. But make no mistake — there’s more than one way to rock a balletcore bun, so gather your supplies and get ready to learn how to attain the style everyone is talking about.
What Is ‘Balletcore’?
Before we jump in, let’s discuss what exactly defines balletcore. Balletcore isn’t just associated with the iconic ballerina-like ’do. It’s a style that pulls sartorial inspiration from ballet gear such as legwarmers, wrap skirts, ribbons, tutus, and ballet flats — and you don’t even have to know how to do a pile to sport such apparel. As proof positive, even prominent runway designers create fashions with a Swan Lake vibe.
Now that we’ve covered the background let’s get into how to create a sleek ballerina bun, along with some recommended products to use to achieve this look.
How to Create a Ballerina Bun
Aside from being super simple to execute, one of the best things about a ballerina bun is it’s suitable for the beach, date night, a wedding, and anywhere else in between. In other words, it’s a high-performing style that doesn’t require a stage to put you in the spotlight, so here’s how to pull it off.
Step 1: Prep Your Tresses
While there’s nothing wrong with having a few flyaway hairs, excessive frizziness can take away from the clean aesthetic of a ballerina bun.

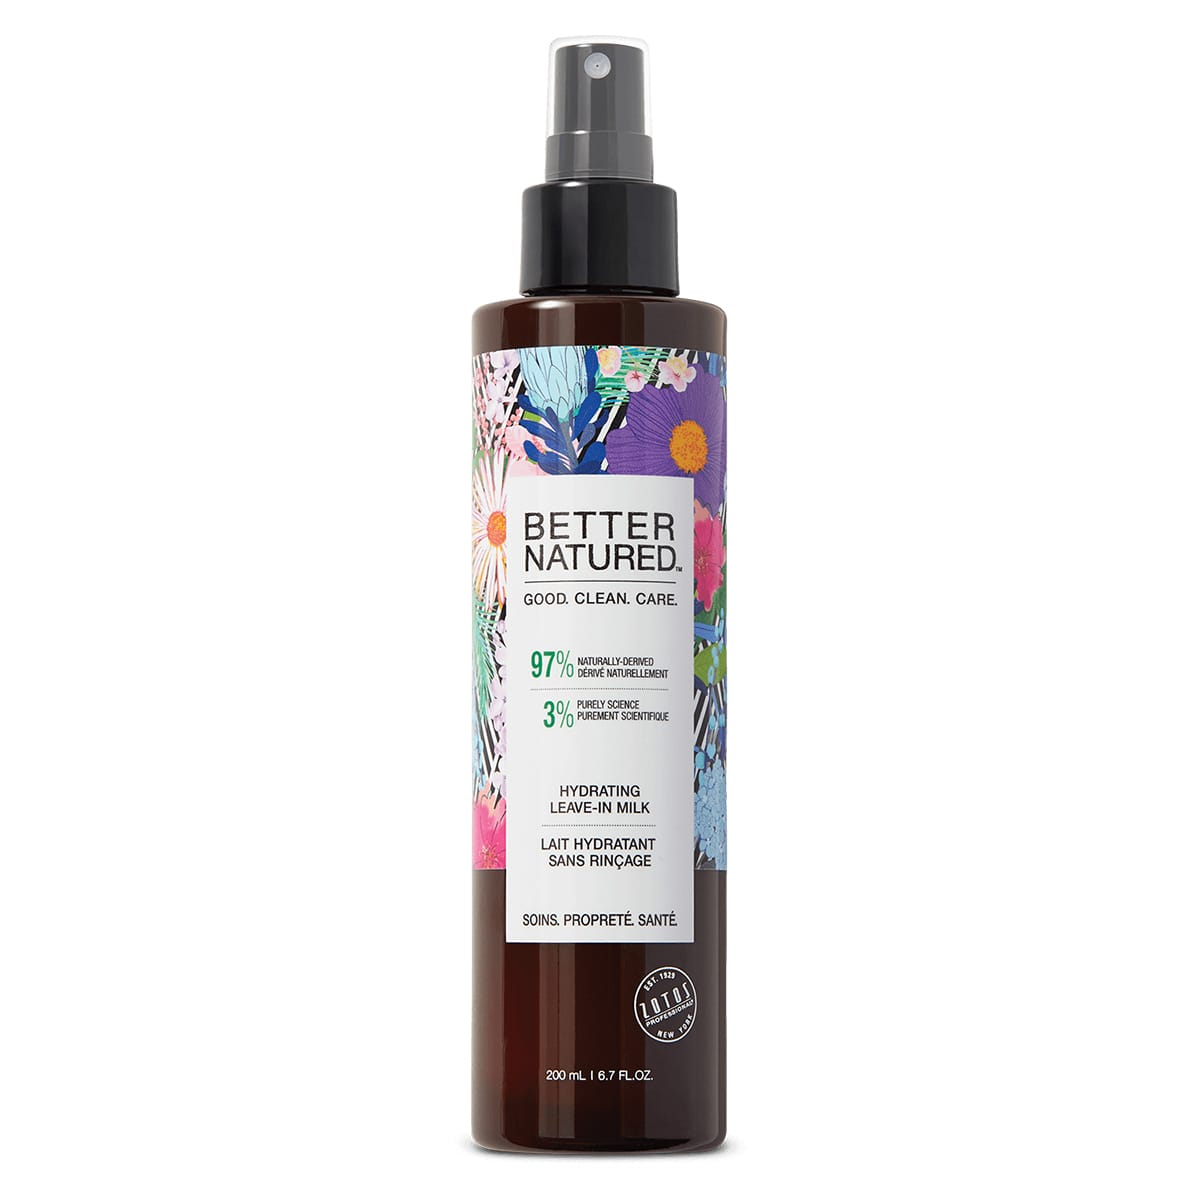
Featured: Hydrating Leave-In Milk
- After washing and conditioning your hair, apply a product such as our Hydrating Leave-In Milk to help smooth, promote shine, and keep unruly, wispy hair at bay.
Prep and Nourish Your Strands with Our Hydrating Leave-In Milk
- Use a brush suitable for your hair type, and blow dry your tresses upward to encourage volume.
- Fresh, clean hair can sometimes be challenging to work with, so add some structure by spritzing on a texture spray While it’s an excellent product for promoting sea-swept beachy waves, it also provides all-star volume, which is what any ballerina bun hairstyle needs.
Pro tip: Updos such as the ballerina bun are easier to execute with next-day hair, but if you feel your roots are greasy, sprinkle on a bit of Fresh Dry Shampoo Powder to absorb excess oils and add additional volume.
Step 2: Brush Back and Secure
Brush your hair to ensure it’s smooth and free from tangles.
- Make a ponytail at the desired level — the nape of your neck, the middle of your scalp, or closer to the top of your head.
- Remember that the shorter your hair is, the lower you may need to make a ponytail to create a solid bun.
- The type of haircut you have will also determine bun level. For example, pulling off a higher bun might be challenging if you have a lot of short layers because you won’t secure all of the hair in a ponytail.
- Don’t overthink this step. You’ll know what to do when you start experimenting.
Step 3: Get Ready to Play
Now that the prep and base work is behind you, it’s time to have fun. Here are a few inspirational ideas to get you started.
- Keep It Simple: Twist your hair, wrap it around the base of your ponytail, and secure it with hair pins or an additional elastic band or tie.

Source: Daniel Hoz/Shutterstock.com
- Make a Mess: Follow the same steps above, but use a light hand to loosen up the bun gently so it’s not so tight. Don’t be afraid to let a few strands fall out for a more natural-looking style. This style is also an excellent option for those with thin or thinning hair. To amp up the volume, twist two small bundles of hair on each side of your scalp and pin them on or near your bun.
- Get Twisted: After you’ve made your ponytail, divide the hair in half and create two braids. Wrap each in the opposite direction around the base of your pony and secure with hair pins.
- Curl Up: Instead of braids, as mentioned above, make curls with the styling tool of your choice on each side of the divided ponytail. Execute the same steps when wrapping the two sides around the base of your ponytail. Use a light hand as this is meant to be a voluminous — not sleek — look.
- Go Out with a Bang: If you have long bangs (and feel confident with your styling techniques), create a French braid from one side to the other across the top of your head, right above the forehead, for a ballerina bun hairstyle with an oomph.
Step 4: Set Your Style
If desired, set your style with a non-aerosol spritz with a light hold to maintain control of your look without making it look unnatural.
Step 5: Accessorize
A ballet bun can stand up on its own, but if you’re looking to amp up your look, add additional accents such as a whimsical ribbon, biodegradable hair glitter (yes, it exists), and embellished bobby pins, barrettes, or hair gems.
Balletcore bun in five steps or less? We’ve got you. As with any style, don’t forget to maintain healthy-looking hair. We’ve made it easy for you with our Hydrating Leave-In Milk. Not only does it complement a ballerina bun (detangling, smoothing, shine-promoting, moisture-enhancing), but it ensures your locks are looking and feeling fierce on the daily — bedhead included.
Browse Better Natured®’s Collection of Hair Styling Products Here
Log in To comment.