The Good. Clean. Fun.™ BLOG
< All Posts
Nothing shows off a stylish cut more than a flawless color application — and you don’t have to head to the salon to get one. However, if you plan on taking matters into your own hands, the secret sauce is sectioning. This crucial step makes your at-home hair color look more polished.
Sectioning makes it easier to saturate one area of hair while keeping the rest of your tresses out of the way so you can get down to business. Also, it helps you keep track of where you’ve applied color to ensure a thorough and even application.
While it takes a bit of finesse, here’s how to section your hair for dyeing so you can achieve a professional-looking color application each and every time.
Prep for Perfection
Before anything else, organize your workstation by gathering your supplies to set yourself up for success.
- Clips: Regarding sectioning, you will need a set of hair clips. Choose a size that works for your hair type and thickness, and ensure they have teeth to keep hair in place. You can also secure smaller pieces of hair or face-framing layers with our Better Natured® Bobby Pins.
- Tail Comb: A tail comb (or rat-tail comb) features a long, thin handle and small teeth on the other end. While it’s used when creating sleek hairstyles, it’s also an excellent tool for sectioning.
- Brush: Before sectioning, you’ll need to brush through your hair to ensure you don’t have any knots or tangles. A boar bristle or wet brush is ideal in this case.
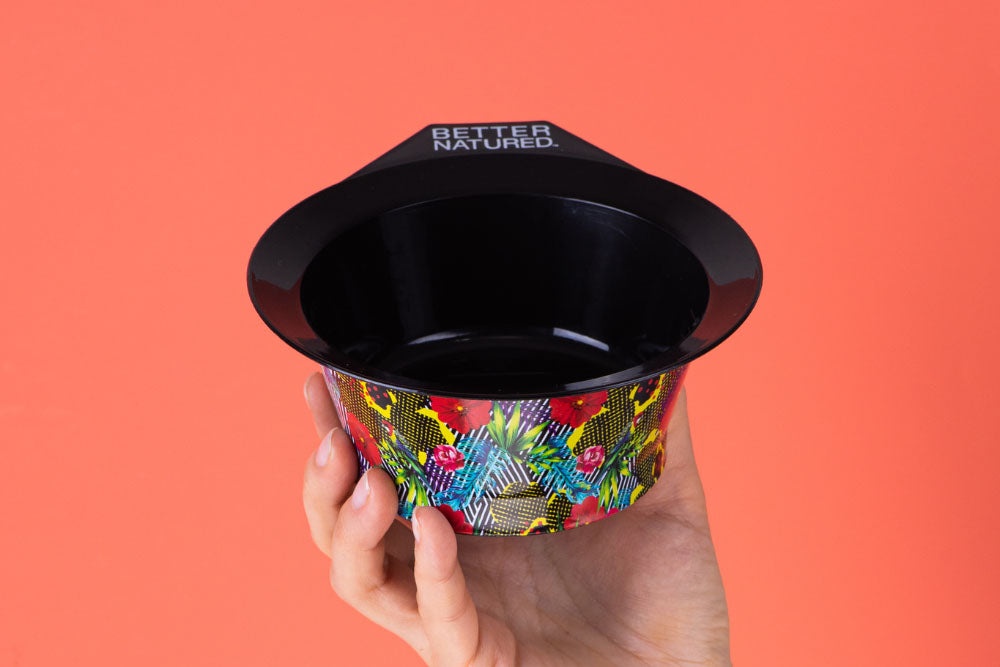
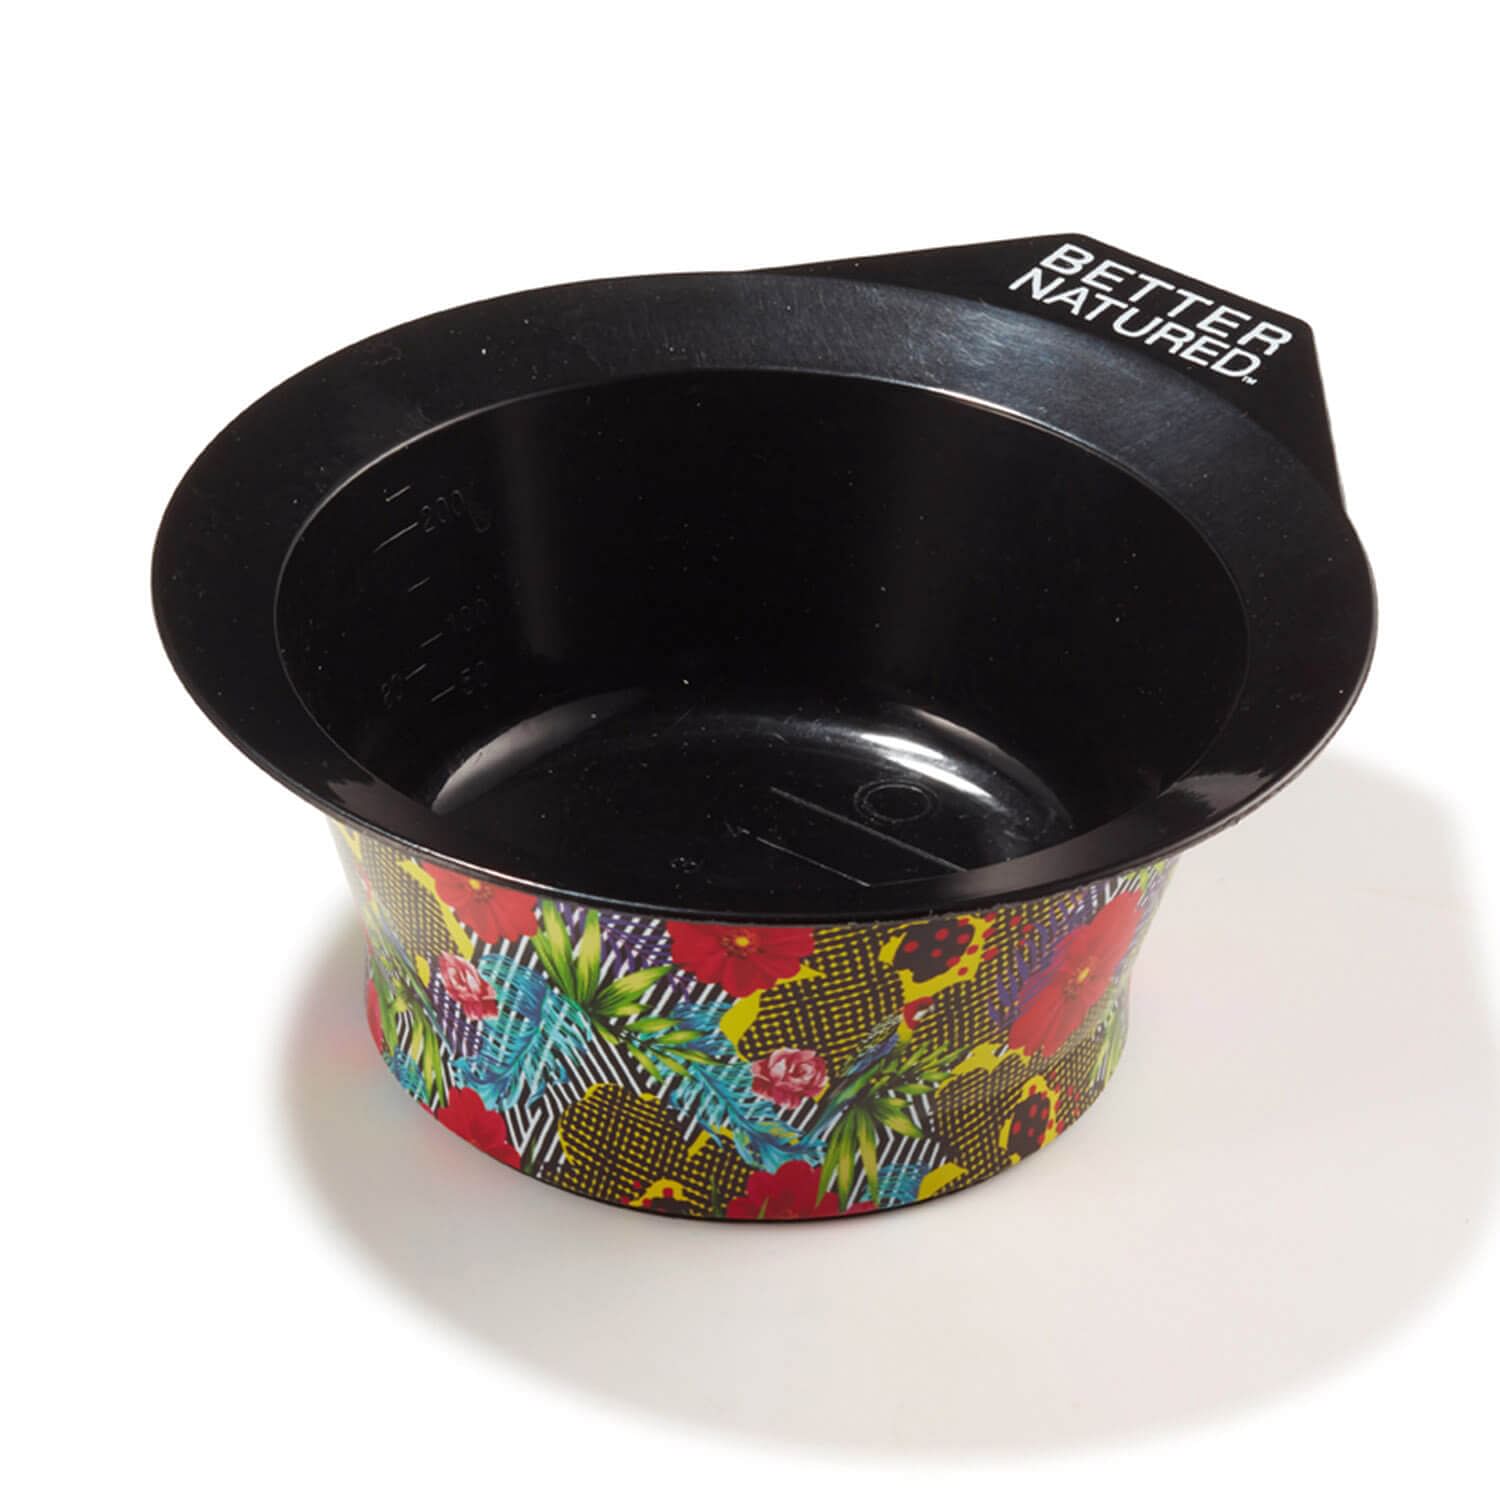
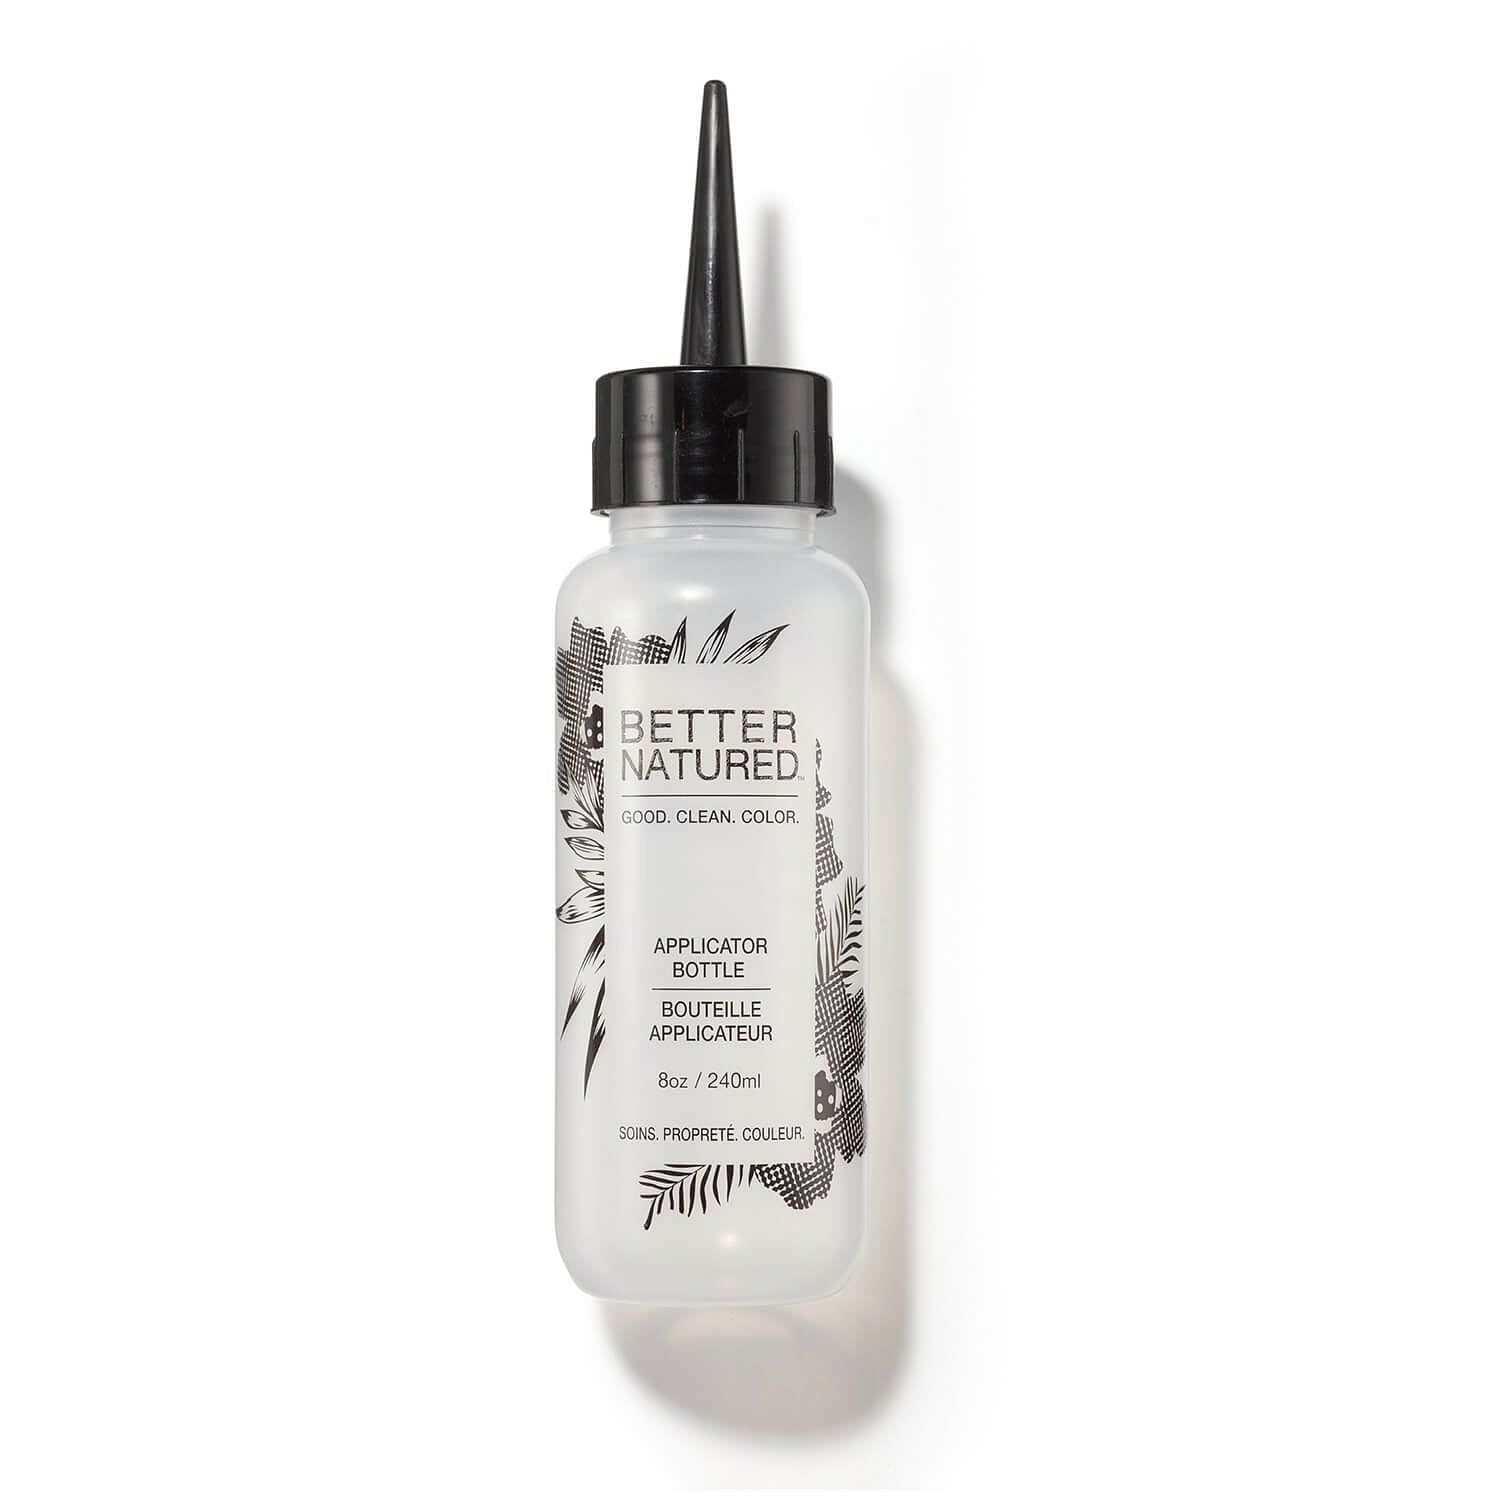
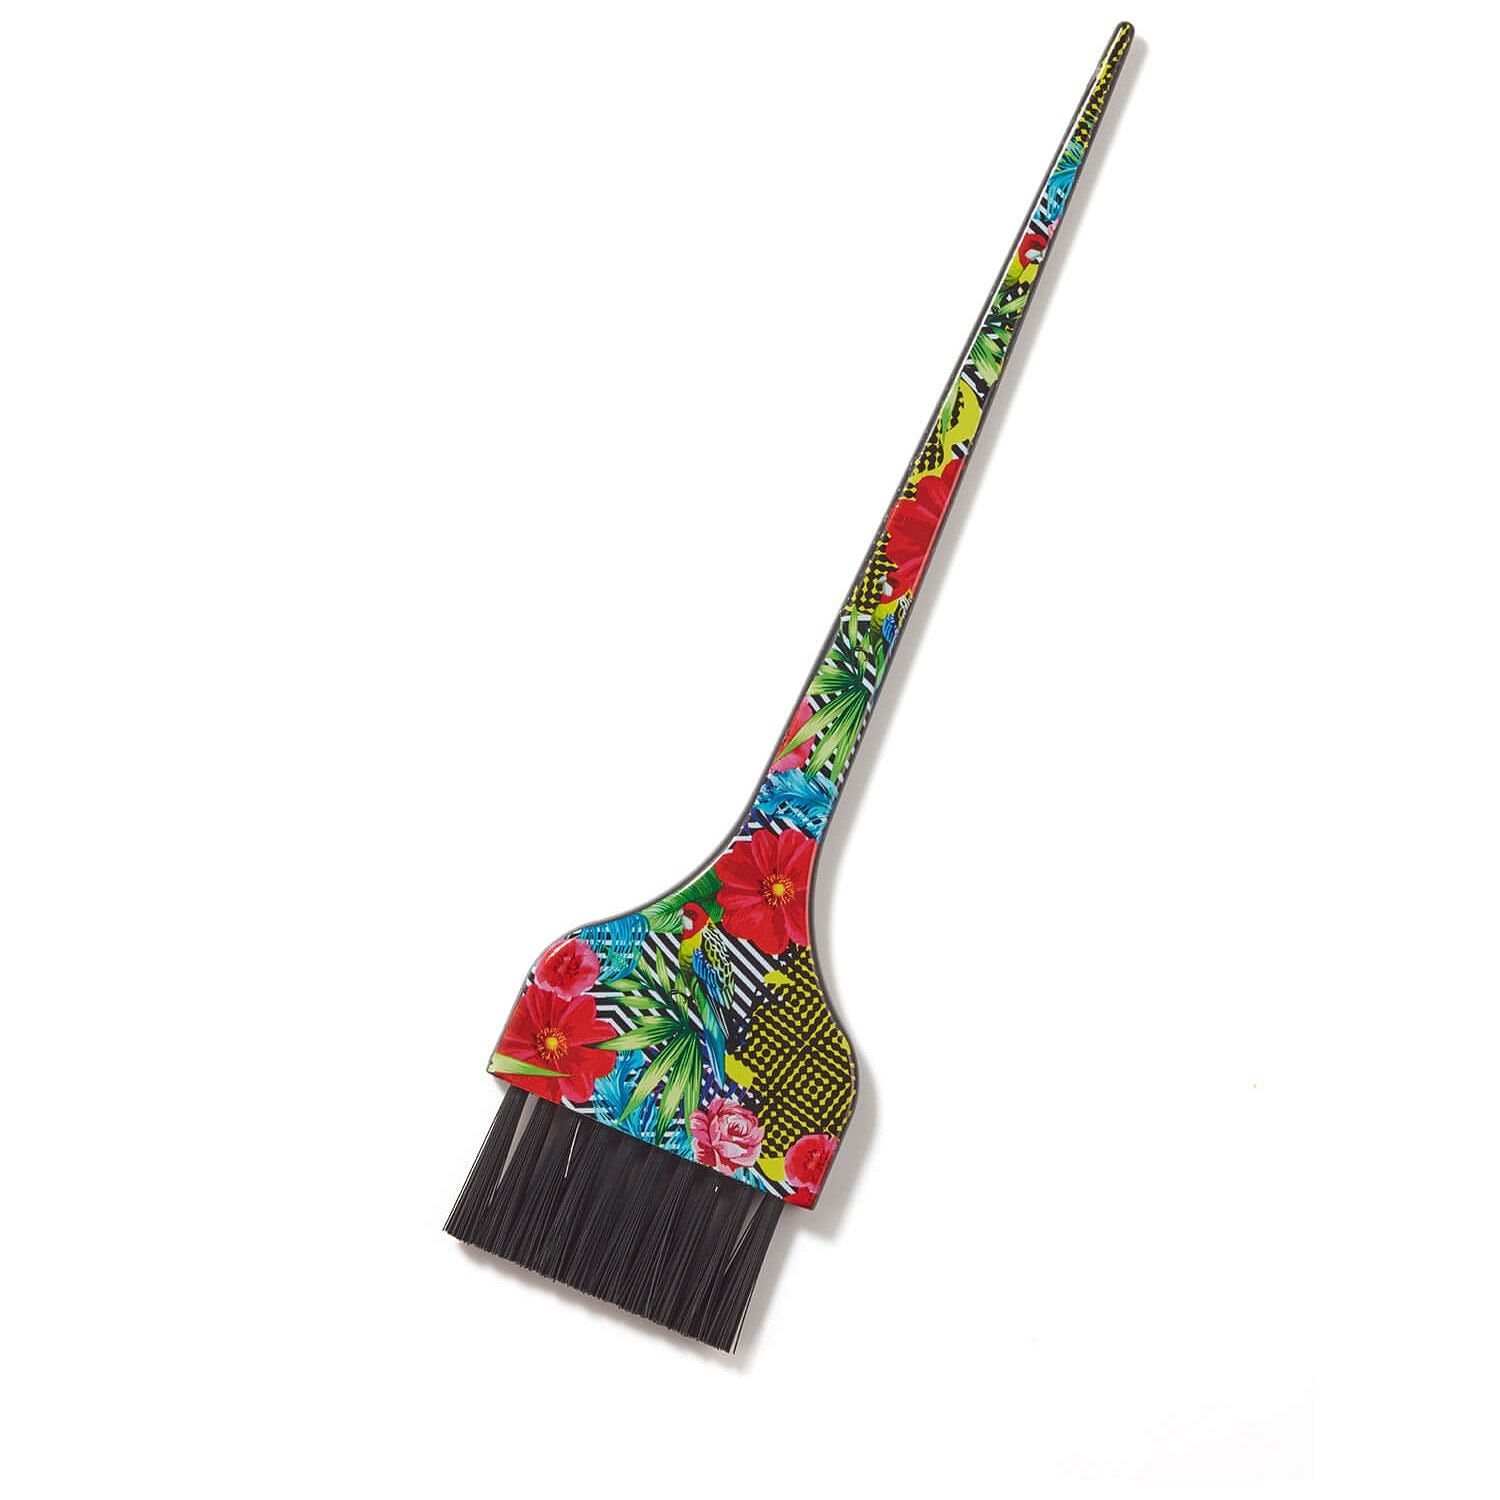
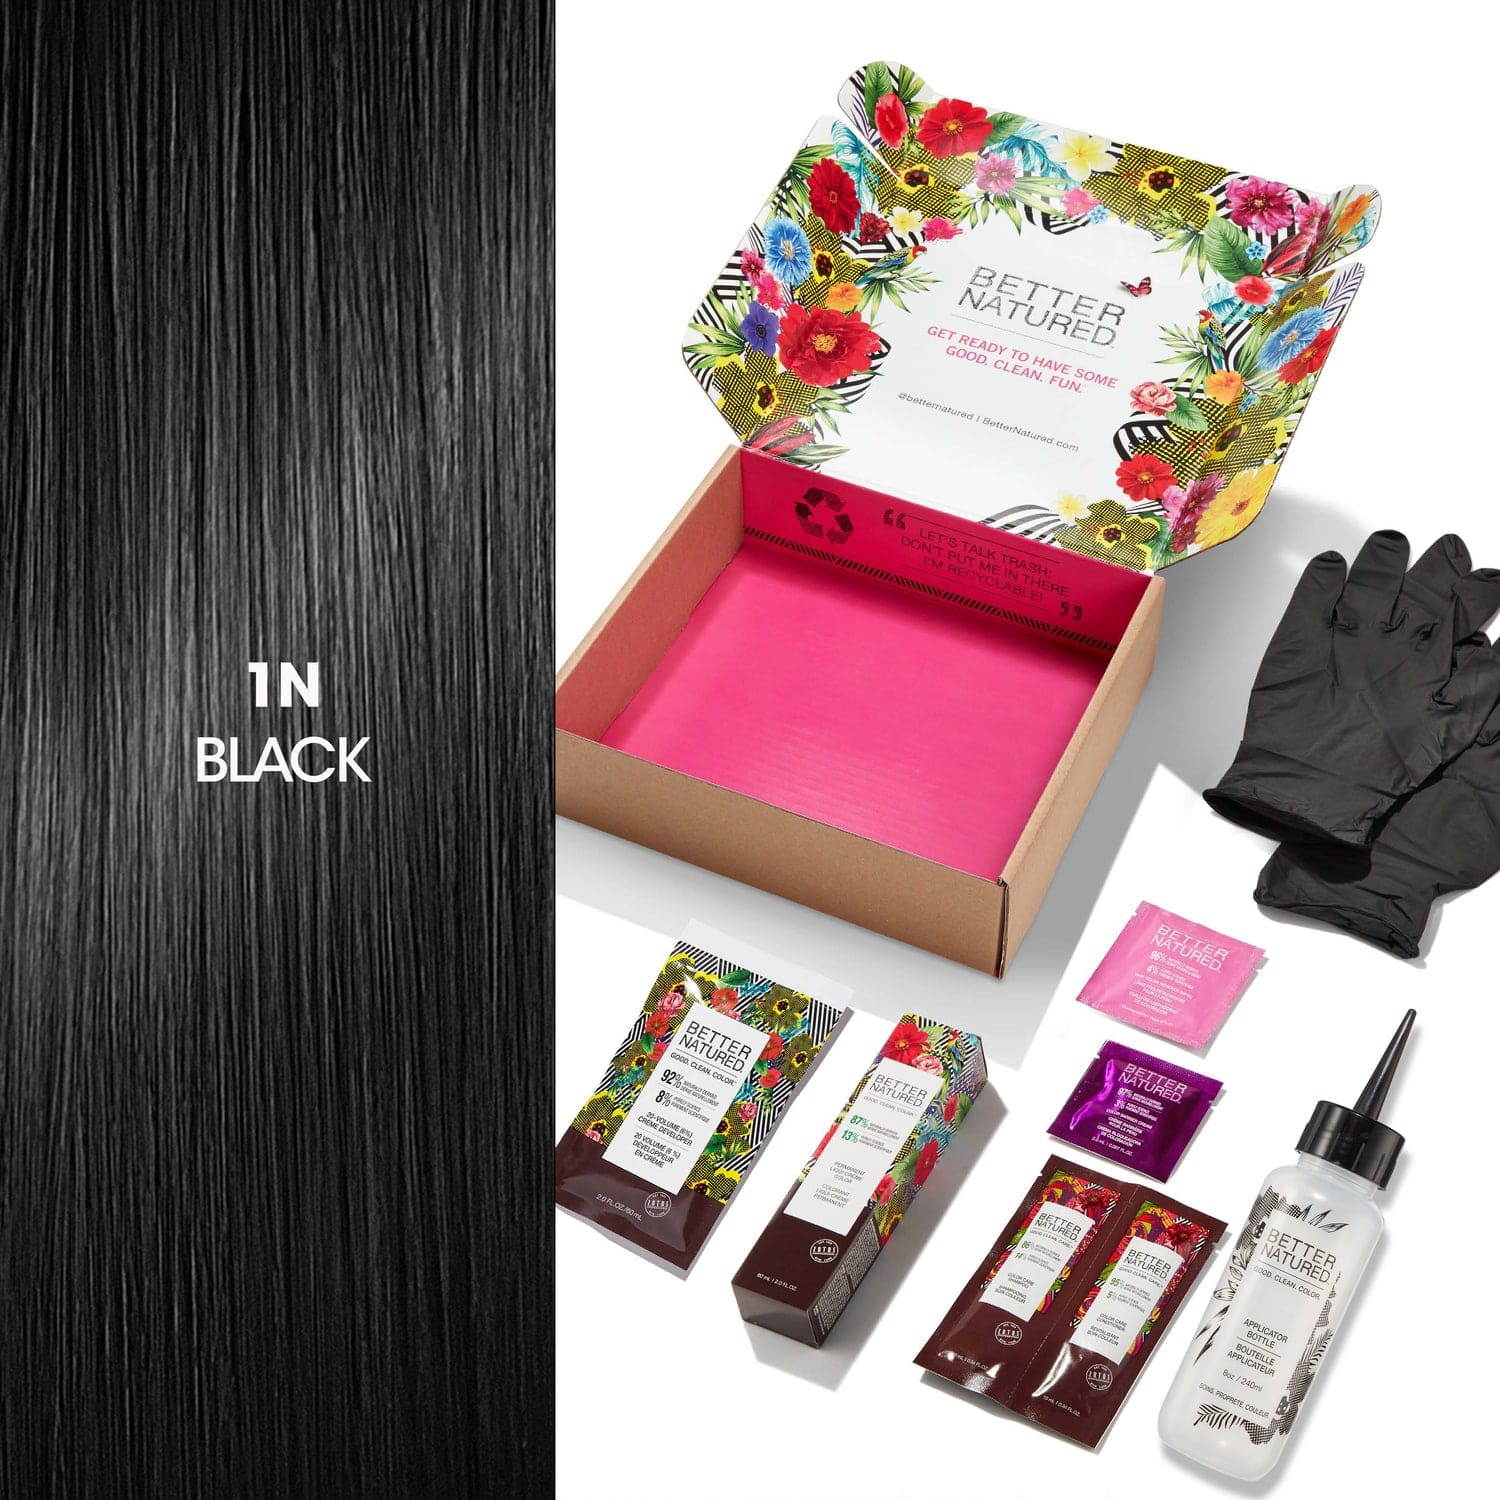
- Hair Coloring Supplies: Of course, once you’re done sectioning, you’re going to want to hit the ground running! Gather all your hair coloring accessories, such as a Better Natured® Hair Coloring Mixing Bowl or Bottle, Mixing Brush, and Hair Color Kit. Depending on how you want to style your freshly colored tresses, you may want our oh-so-fashionable Floral Hair Clips!
How to Section Your Hair for Dyeing in 4 Easy Steps
Step 1: Make a Horizontal Part
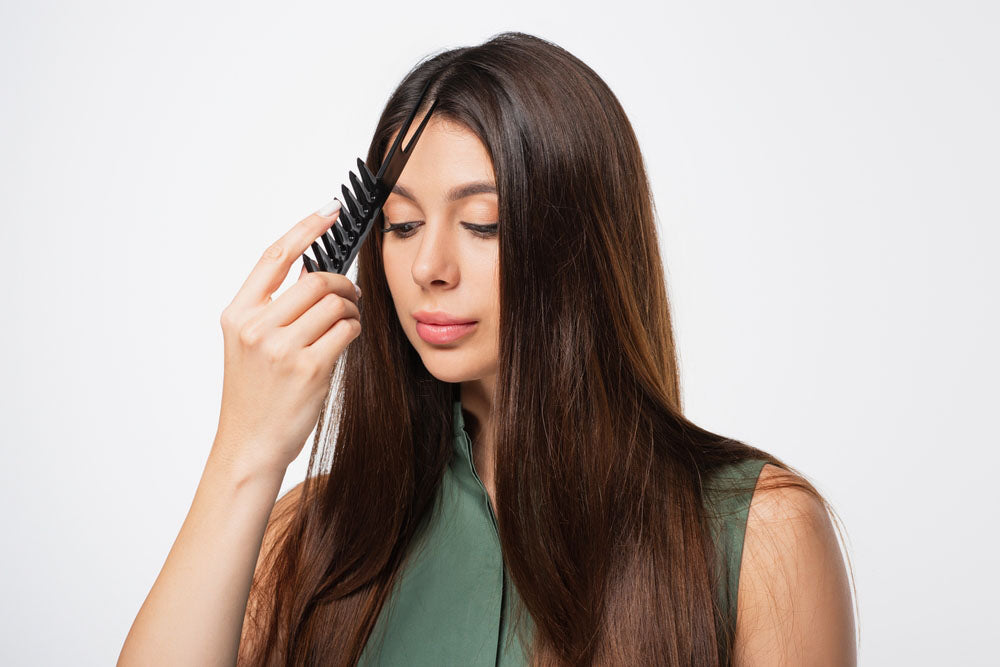
Brush out any tangles to ensure an even color application. Next, use your tail comb to create a horizontal part from one ear to another across the crown of your head. Try to make it as precise as possible using the tip of the comb.
Step 2: Divide and Clip
Divide the top section of hair you created into two sections and twist each before clipping each one out of the way.
Step 3: Make a Vertical Part
Now it’s time to tackle the hair at the back of your head by making a vertical part from the center of your scalp to your neckline.
Step 4: Divide and Clip
Repeat step three — you should now have four sections of clipped hair!
Once you’ve mastered sectioning, you’ll quickly realize it’s a must-have technique for successful coloring and blow drying! If you want to follow through with a blowout, check out our post on How to Blow Dry Your Hair Straight! Shop Better Natured® Hair Color and see how easy it is to get professional results at home!
Get Your At-Home Hair Color Kit from Better Natured® Today!
Images Sources:
Nicoleta Ionescu/Shutterstock.com
LightField Studios/Shutterstock.com
Log in To comment.